Getting Started
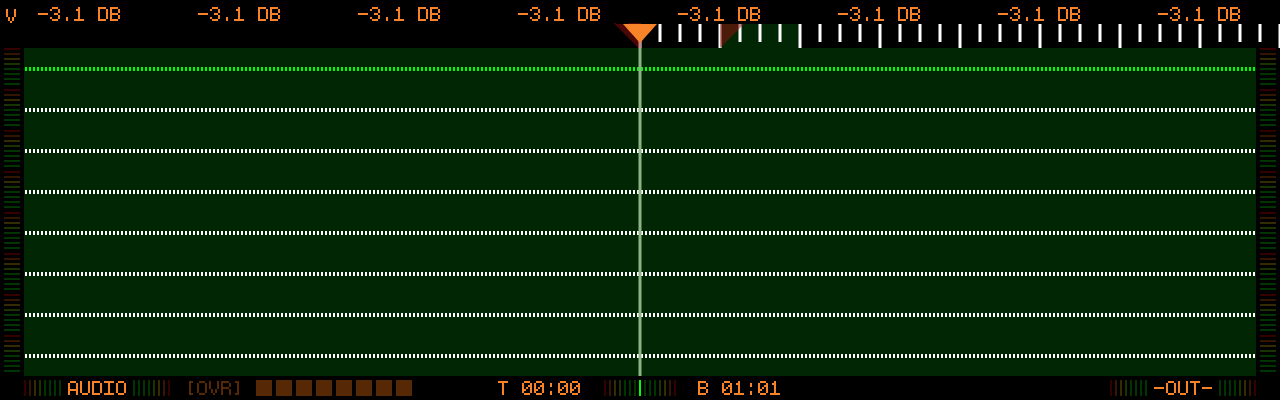
1. Power & Connections
- Connect USB-C power supply (PD, 9V, ≥20W)
- Connect headphones or speakers
- Connect instrument or microphone
- Enable 48V only for condenser microphones
2. Select Input
- Select the Input source with the 3-Way switch
- Play your instrument
- Adjust Input Gain
- Avoid clipping (red)
3. Arm Track
- Select track (1–8)
- Press Arm Record
- The track is now ready to record
- A red border around the screen shows that record is armed (new in v1.2.1)
4. Record
- Press Play
- Recording starts immediately at the playhead
- While recording, the red screen border turns solid (new in v1.2.1)
- Press Play again to stop
5. Playback
- Press Play
- Adjust Track Volume with the Track Encoder
6. Save / Export
- Press Settings (no SHIFT needed since v1.1.3)
- Use BROWSE to open the Project Browser and rename your project
- Or use EXPORT to export a Mix to a USB stick
Next, learn the interaction model on the User Interface page — or look up any control in the Controls & Shortcuts Reference.